Dubai Culture & Heritage
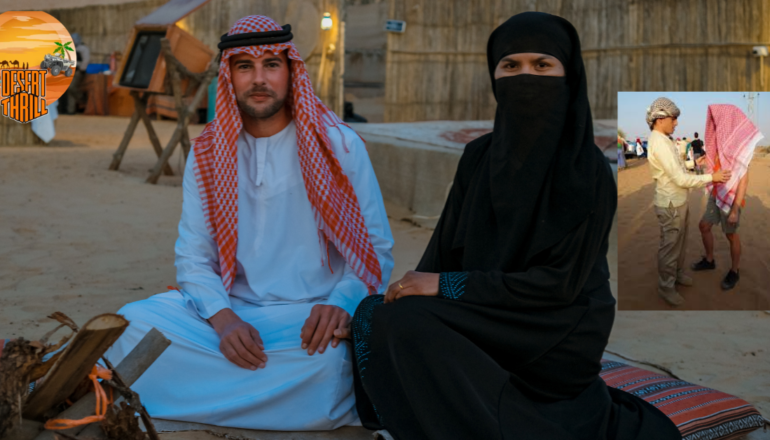
“Ever wonder about that Arab headdress thingy, ol ghutra itself?” It’s a key piece of Emirati clothing, typically made from robust cotton material Although men usually wear the ghutra (كوفيةkūfiyyah in Arabic), females wear it with a sheila that can be more cheerful and colourful, as though Hamas were trying to help its people build self-confidence by showing some joie de vivre.
Even so, the ghutra is more than just a cultural symbol. It has several practical purposes as well. Mainly white or white mixed with red patches, It is very practical to keep the heat from affecting it much thanks to protection offered by hard sun rays. warmer version in cooler nights. This was in addition to serving as protection against dust and sand storms — which is a definite must have for such climatic conditions.
During a desert safari with Dubai Desert Safari Thrill, you will receive a ghutra as a souvenir. Wearing it correctly is a sign of respect for local customs. Follow these detailed steps to master the art of tying a ghutra:
Step-by-Step Guide to Tying a Ghutra
1. Fold the Ghutra

Begin by folding the ghutra. Instead of folding it in half, bring one corner to the midpoint of the opposite edge, creating a triangle.
2. Position the Ghutra on Your Head
Place the folded ghutra on your head with the straight edge aligned with your forehead. The longer, unfolded side should drape down your back.
3. Twist the Ends
With the two ends hanging down over your chest, twist each end away from your body. This twist helps to secure the ghutra in place.
4. Cross the Ends Behind Your Head
Pull the twisted ends over your shoulders, crossing them behind your neck. This maneuver creates the iconic bulge at the nape of your neck, adding volume to the headdress.
5. Bring the Ends to the Front

After crossing them behind your head, bring the ends back to the front, ensuring one end falls over each shoulder.
6. Wrap the First End
Take one end and wrap it over your forehead and around the back of your head. Tuck it securely into the folds at the back. For a polished look, aim to create at least two visible lines or layers of fabric across your forehead.
7. Wrap the Second End
The second end should be wrapped similarly, ensuring it overlaps neatly with the first. This end will be more prominent, so take care to align it well. Optionally, you can let it hang slightly to one side for a traditional tail-like appearance.
After completing these steps, adjust the ghutra as needed. Ensuring the folds and layers are even will enhance the overall aesthetic. Mastering this technique may require practice, but with persistence, you’ll achieve a sophisticated look.
Embrace the Tradition

Equipped with these instructions, you’re ready to embrace this element of Emirati culture. Next time you visit the UAE, showcase your ghutra-tying skills. Not only will you stay comfortable and stylish, but you’ll also demonstrate your respect and appreciation for local customs.